Linocuts revisited
A couple of years ago I took part in a one-day linocut workshop in the Swan Valley. I headed home on a high of creative inspiration, full of plans to print up a series of Xmas cards. I’d get some lino and carving tools, create a couple of designs, then print them up in various colours… Voilà!
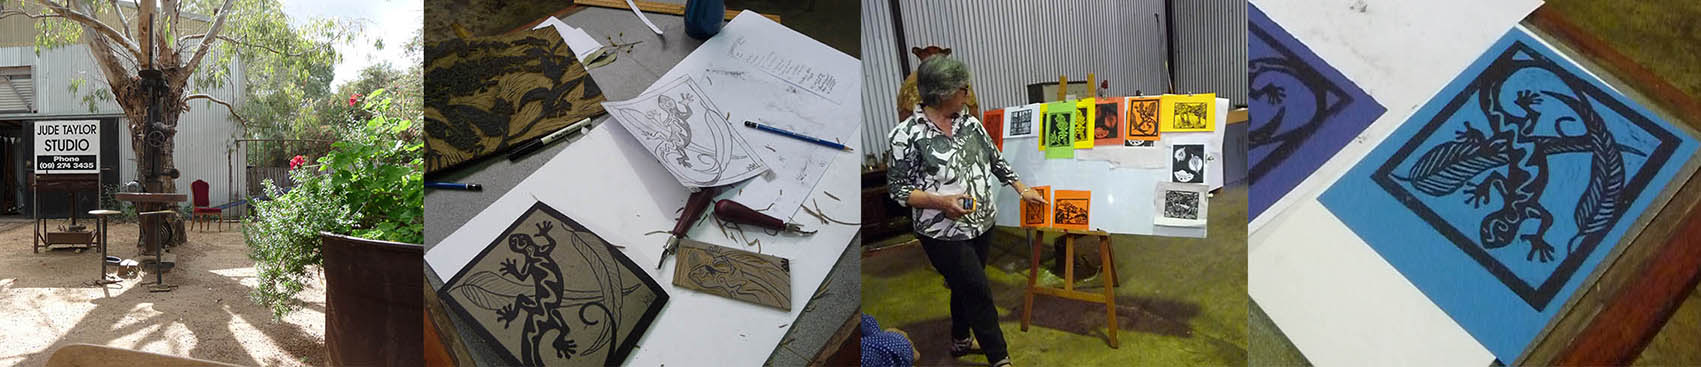
But, when it came time to carve, I found that the lino I’d bought was very different to the medium we’d used in the workshop. Silk Cut Lino is advertised as being ‘easy and pleasurable to use’ – but I found it significantly harder (stiffer) than expected and really quite tricky to carve. It may have simply been my novice technique, but the cuts were disappointingly wobbly.
Of course, in my excitement, I’d bought quite a LOT of the lino… the not-so-easy-or-pleasurable to use lino. So I ended up simply put the whole idea on hold for later…
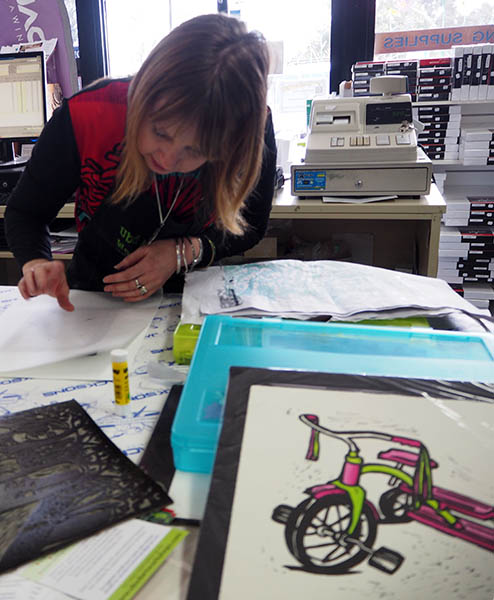
Time passed… and then a friend sent me some information on a (free) linocut demonstration at Jacksons Art Supplies last week: “Printmaker Shana James will be in store this Friday to demonstrate how to carve and hand print a lino block. Come and see how Shana creates her beautiful whimsical lino prints.”
Shana’s linocuts are lovely – and whimsical, my favourite being the charming hand-coloured pink and green tricycle. It’s such a joyful, light-hearted image 🙂
 We didn’t actually get to see a print being carved, but she did demonstrate the printing process, using one of her existing designs. She also showed us a process for adding colour to lino prints called Chine-Collé. Using a glue stick, Shana rubbed some glue on one side of a small piece of very fine, hand-inked rice paper and then placed the glue-free side directly onto the inked-up linocut block.She then added a second layer of (different) coloured rice paper over the top of the first.
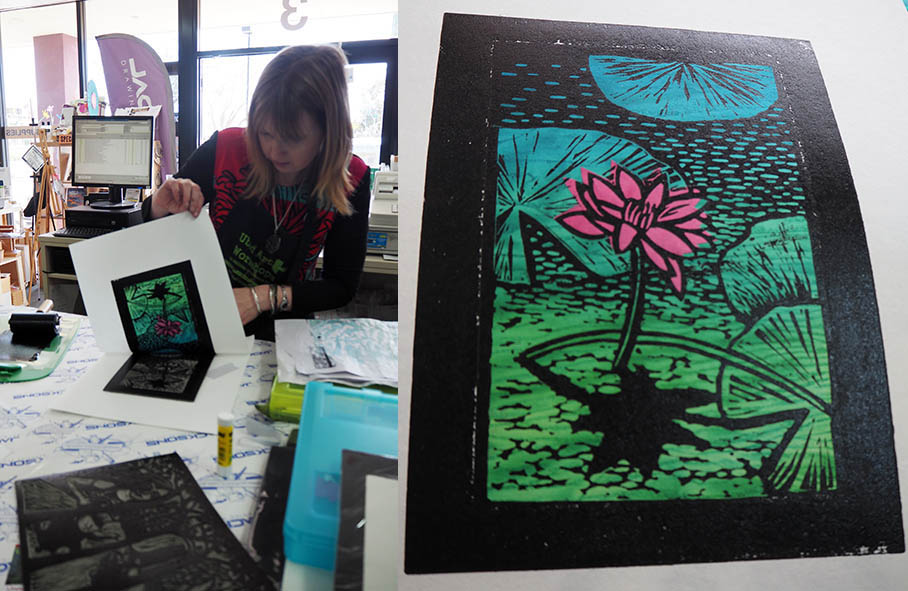
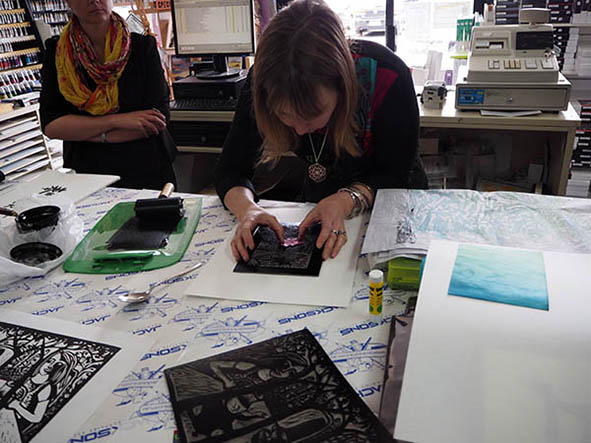 The next step was to place the printing sheet (plain paper) carefully over the top of all this, effectively sticking the coloured paper to the printing sheet. Shana then used the back of a spoon over the whole design to transfer the ink to the printing sheet before lifting it off the linocut. Magical!
 Shana’s pro-tip re carving lino that’s really stiff? Warm the lino to soften it. She suggested a number of ways of doing this: iron the lino, using a low temperature setting, with a layer of paper or fabric between the iron and the lino; warm a wheat bag in the microwave oven and lay it on the section of lino you’re about to carve; or leave the lino in the sun for a little while. So simple!
This means that linocuts are back on the agenda – possibly even for Xmas cards this year. I’ll start with a test piece next week and see how I go.