Getting Crafty
An assortment of things made at #10 at various times
June 2019 – Simple Snuffle Mat
If you’d like to have a go at making an enrichment toy for your dog, this simple snuffle mat is a a good option and was fun to make.
To make a snuffle mat, you’ll need:
- A rubber doormat (mine is 40 x 60cm), available from your local hardware store for a few dollars. Rubber is best as it’s heavy and less likely to move around when the dog’s snuffling about looking for treats.
- Polar fleece fabric. Approximately three (3) metres of 150cm wide fabric. Choose the cheapest you can find or use offcuts as it’s all going to get all very doggyfied in no time at all!
- Tape measure / cutting board and scissors.
- Time (you’ll be tying about 300 knots!)
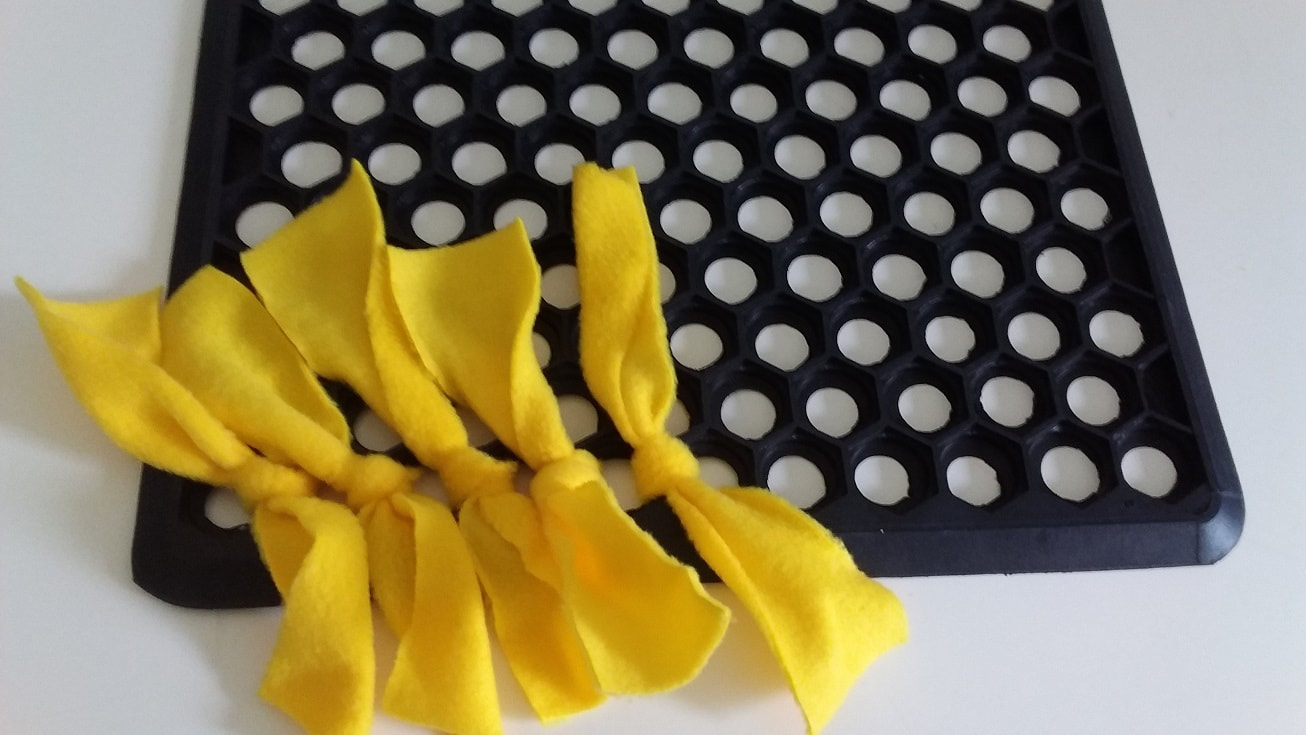
The fabric strips: cut your fleece fabric into strips 5cm wide and as long as the piece of fabric you’re using. Next cut each 5cm wide strip into 25 – 30cm lengths. You don’t need to be exact on this since some variation in length makes the mat more interesting.
The knots: Start at one edge of the mat and thread one end of a piece of fleece through a hole (top to bottom), then thread it back up through the very next hole (bottom to top). Pull the two ends up and tie them together on the top of the mat in a firm double knot. I found a reef knot to be the best one to use for this as it lies fairly flat and stays knotted.
Now take another strip of fleece and push it through the second hold (top to bottom). This hole will now have two pieces of fleece in it: one end of the knotted strip and the piece you just pushed through. Pull the other end of the second strip up through hold number three and knot these two ends together, just as you did for the first strip.
Repeat until you have finished the first two horizontal rows.
You will now start to fill in the vertical rows by taking another strip of fleece and pushing it through the first hole of the first row, then pulling it up through the first hold of the second row (ie. diagonally). Knot these two ends together, then continue to knot strips diagonally between first and second row until you reach the end of the row.
To complete: the rest of the snuffle mat construction is simply a repeat of these two steps. When you think you’re done, flip the mat over to see if you’ve left any gaps. If you find any, go back and fill them with more knotted strips.
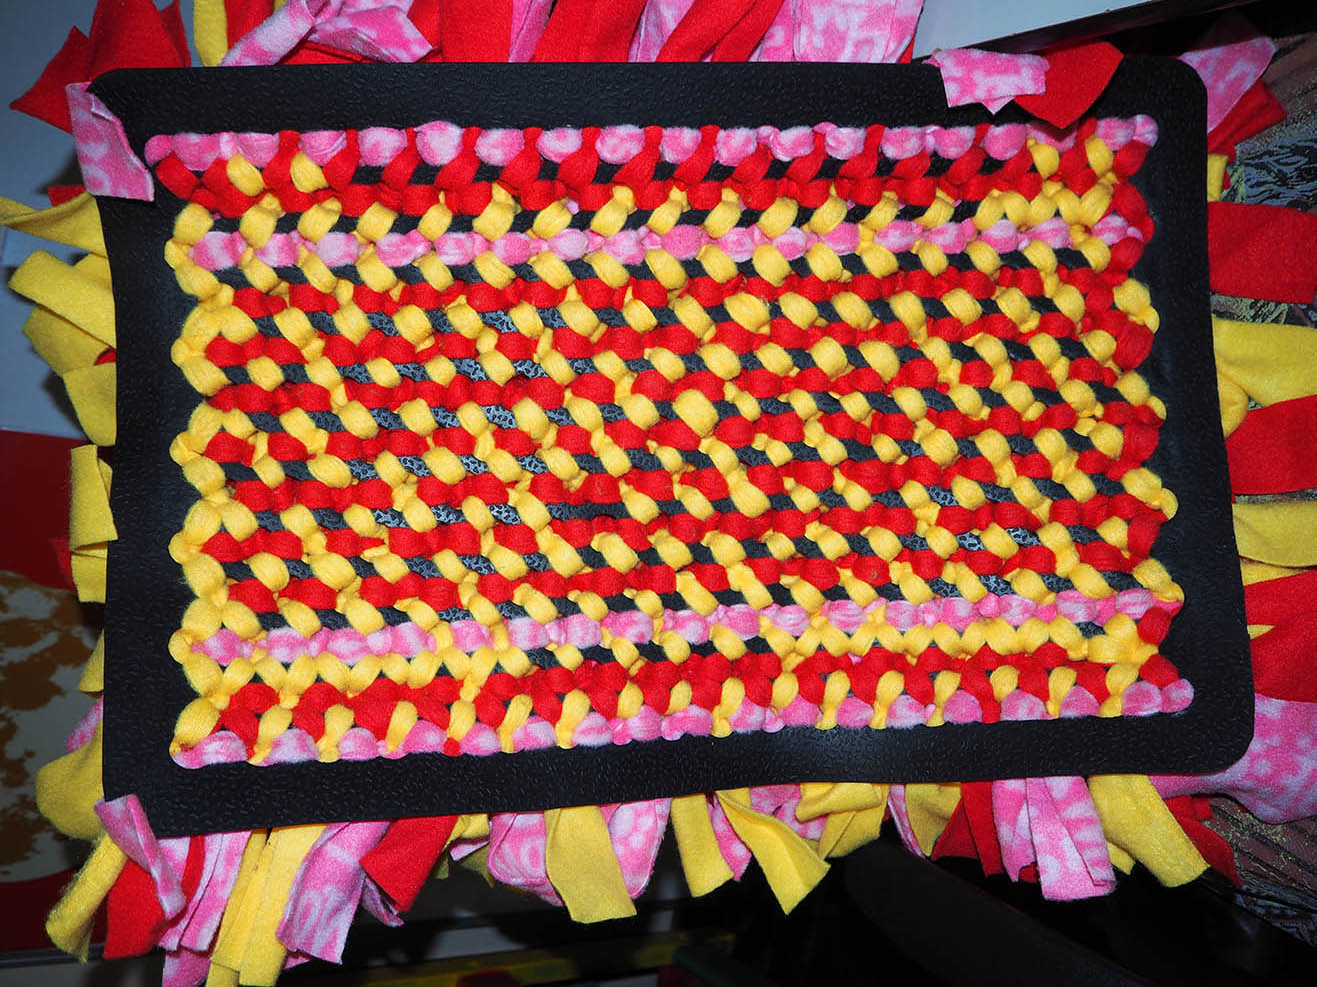
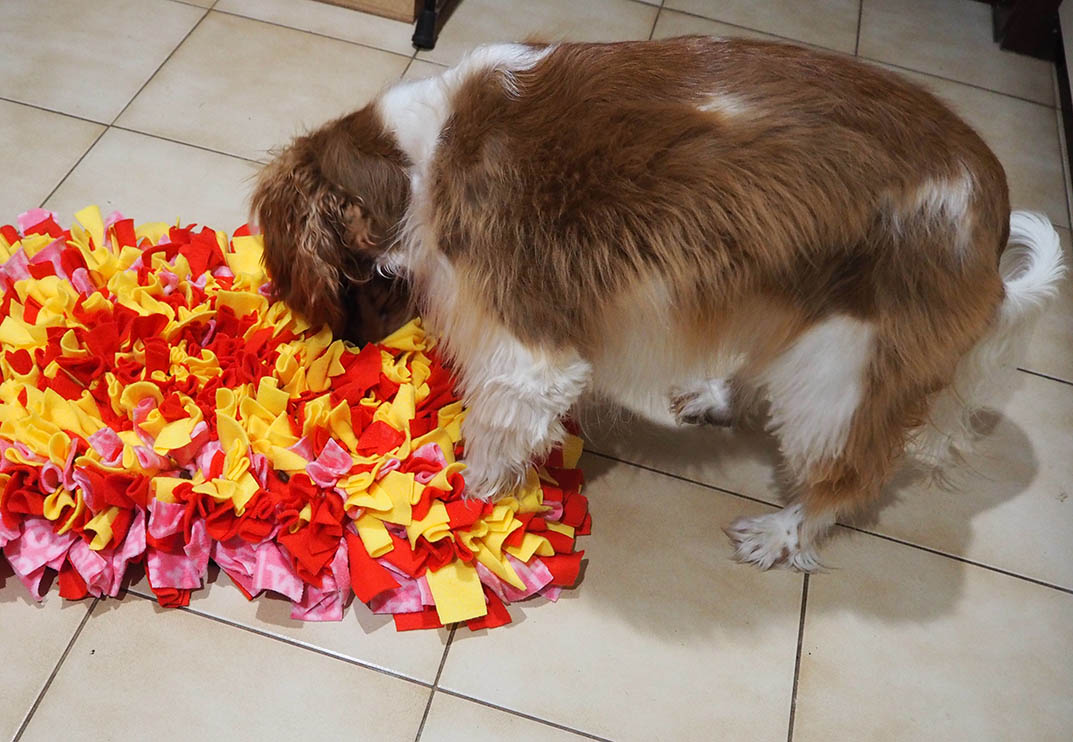
To use: when you’ve tied all your knots, turn your snuffle mat fluffy side up and sprinkle some dry dog treats onto it. Tuck the treats into the fleece forrest to make them trickier to find. Then pop the mat on the ground and let your dog get snuffling. Good fun 🙂
NOTE: It’s advisable to supervise your dog while they’re using the snuffle mat and to put it away after each use. This is because the mat will soon smell – and taste – of the treats. If your dog is anything like ours, it’s very likely to try to EAT the fabric – which may end up with an emergency visit to the vet and possible complications.
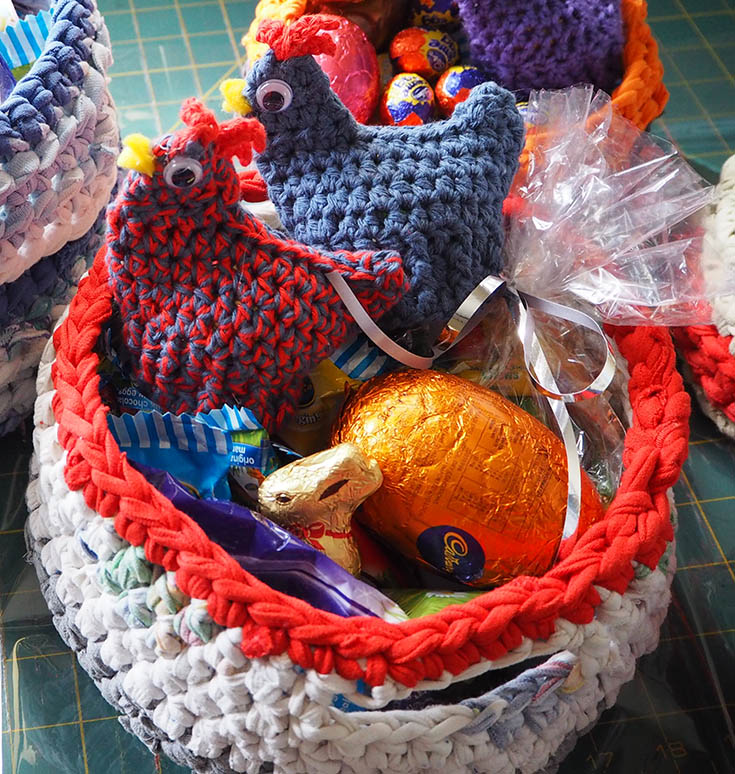
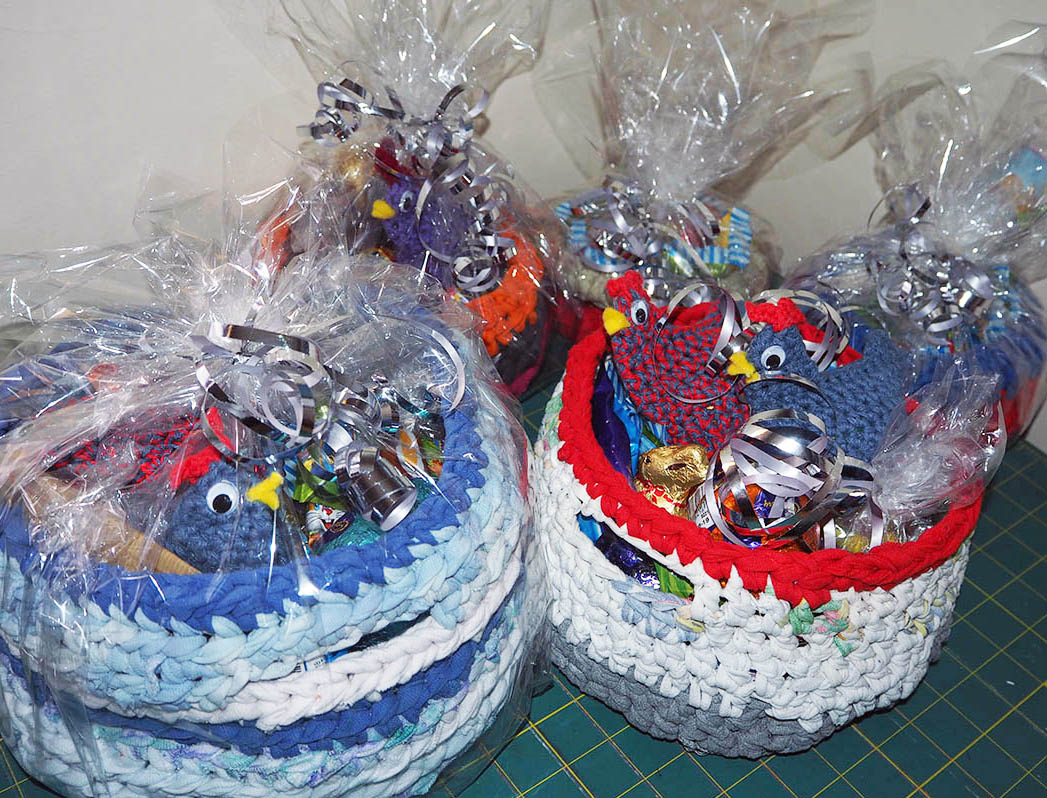
April 2019 – Easter baskets
Creative recycling recently had me making a range of rather cute t-shirt yarn baskets. This weekend a number of them are being put to good use as Easter baskets, filled with tasty treats to deliver to some of my lovelies. In a moment of crazy, I even went the extra mile and made chicken-shaped egg cozies – a bit fiddly, but good fun.
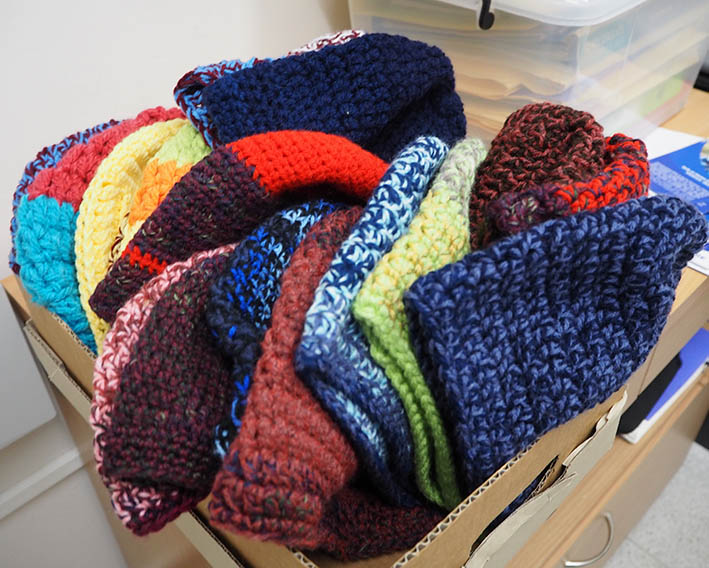
June 2018 – Getting into Crochet
Lately I’ve been giving crochet a go – and it’s been surprisingly rewarding, partly because it’s simply so much quicker than knitting! It’s been great fun participating in a couple of community craft projects, creating blankets and beanies for people in need. I’ve ended up feeling quite accomplished 🙂
![]()
December 2016 – Xmas Craft
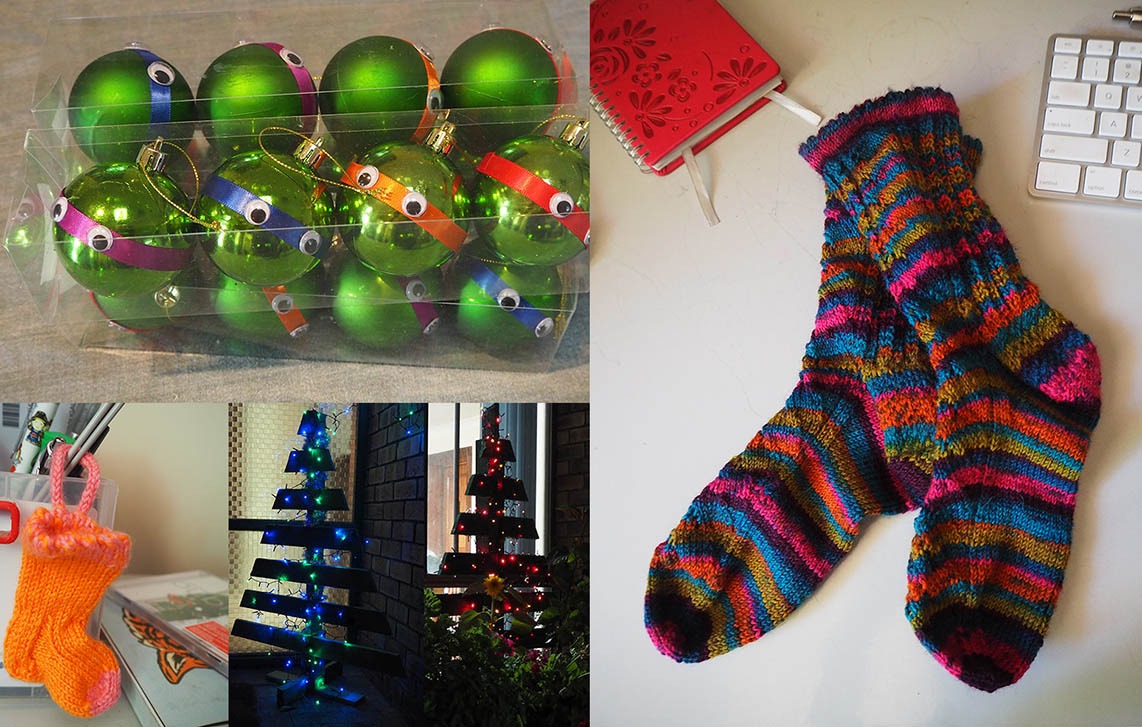
Creating outdoor Xmas trees seemed like a good idea and, with only a little encouragement, Himself scrounged up some wooden pallets to recycle and created two for our garden. They’re great and we’ll use them again next year. The Teenage Mutant Ninja Xmas baubles, miniature gift stockings (only one shown here) and pretty socks were made as gifts for various people.
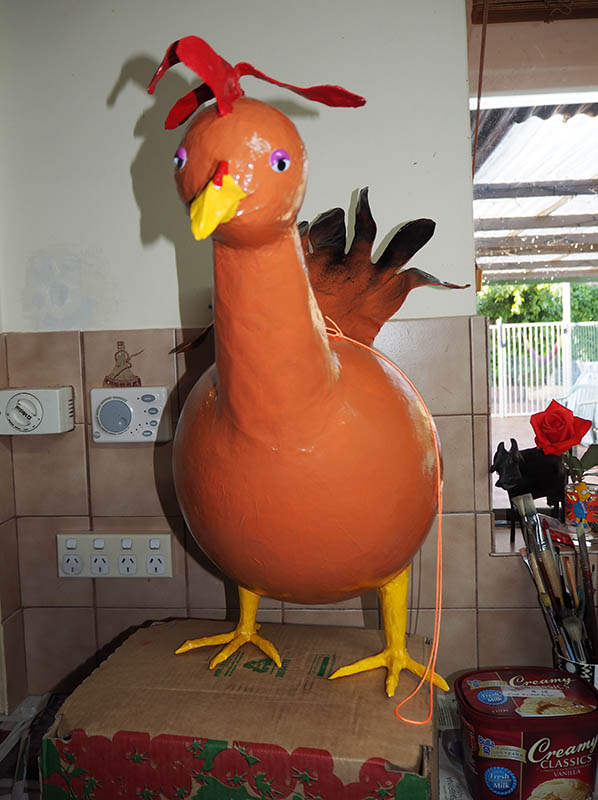
May 2016 – Chicken Piñata completed
Started on 20 April, completed on 7 May. Many hours of sticky papier mâché fun.
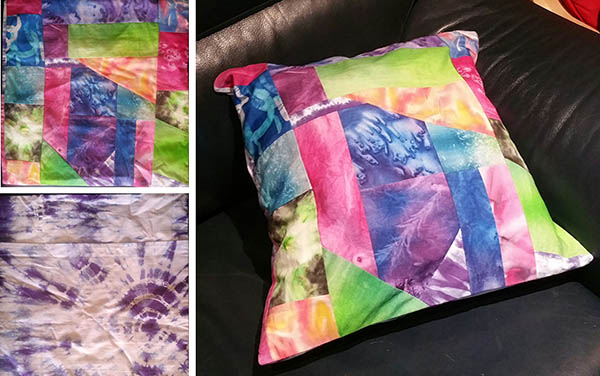
April 2016 – Birthday Cushion
Handmade gifts make me happy – both the giving of them and receiving them from others. Last month I decided to utilise some of the fabric I had hand dyed and create a crazy patchwork cushion for a friend. Some of the pieces are silk, but most are cotton (callico).
I used two different techniques for the silk. On some, I dripped alcohol onto the silk paint to create light and dark areas and diffuse the colours; for other pieces I tried batik, using wax and a couple of shades of silk paint. It was all good fun, but the silk takes more time than the cotton as it really needs to be stretched on a frame when working with it.
The cotton was more straighforward. I tie-dyed several pieces and had great fun getting messy with dyes, elastic bands, pegs and so forth. For the rest, I used setacolour sunpaints. This is a surprisingly easy and rewarding technique that comes down to dampening the fabric, applying the dye and then laying it out in the sun to dry. You can scrunch it up to produced random patterns or lay plants/other objects on it to produce designs. Alternatively, you could try blobbling paint on and use a straw to blow it around for some interesting results.
The back of the cushion is simple tie-dye piece, but the front turned out to be an exceedingly colourful mishmash of fabrics, which is most appropriate since it was for a very colourful character 🙂
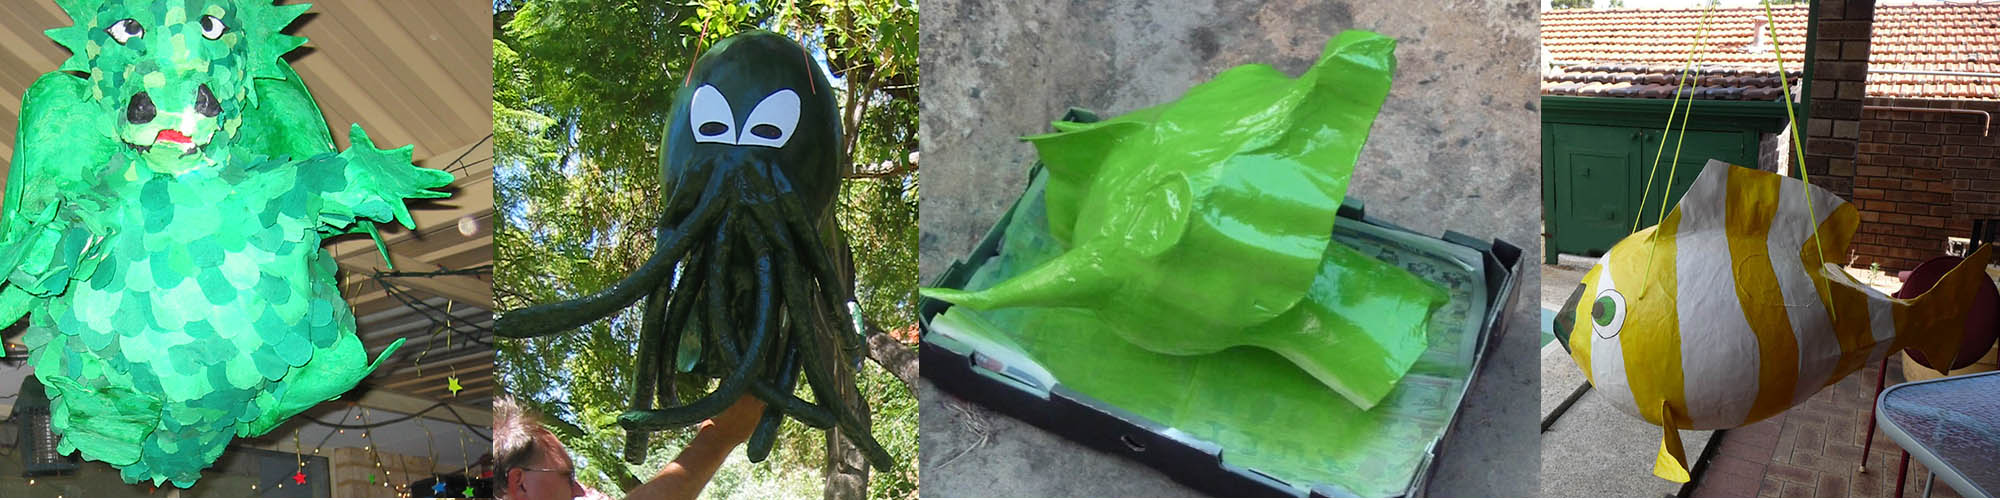
March 2016 – Piñatas project planning.
I’m having some trouble deciding on a theme. I could do a pumpkin, but it’s a pretty simple shape and Halloween is quite far off. Maybe a bumblebee or a daisy or even a chicken… more thinking required!
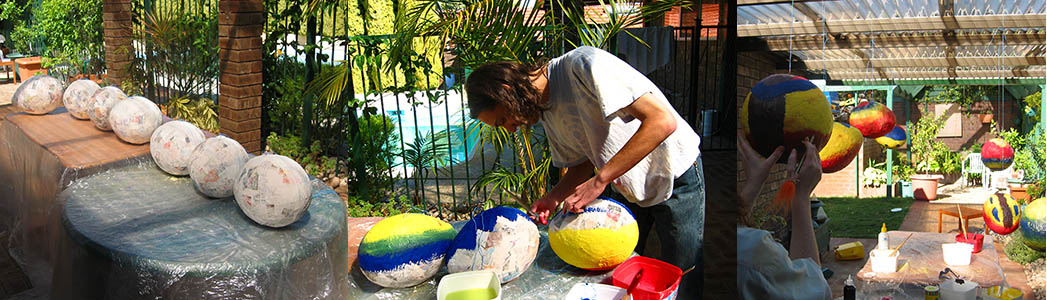
Past piñatas I’ve made (dragon, Cthulu, dragon head, fish) – and the construction phase of a giant worm-piñata made by Boychilde for his birthday party one year.
December 2015
Whilst quilting’s never been my forte, I did do some crazy patchwork bedcovers a few years ago to use up scraps of fabric that I’d accumulated over time. The simplest version of this is strip quilting – a quick and easy technique that provides very satisfying results.
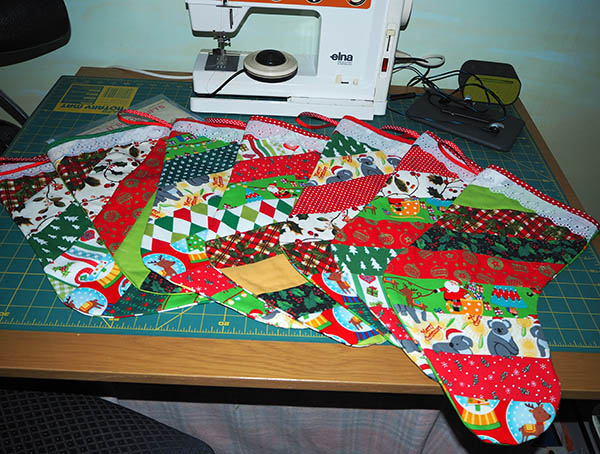
My holiday project this year was to get creative with pretty fabric and ribbons, producing Xmas stockings for seven special people. It was good fun – and so was hunting for things to put in the stockings for each person 🙂
November 2015
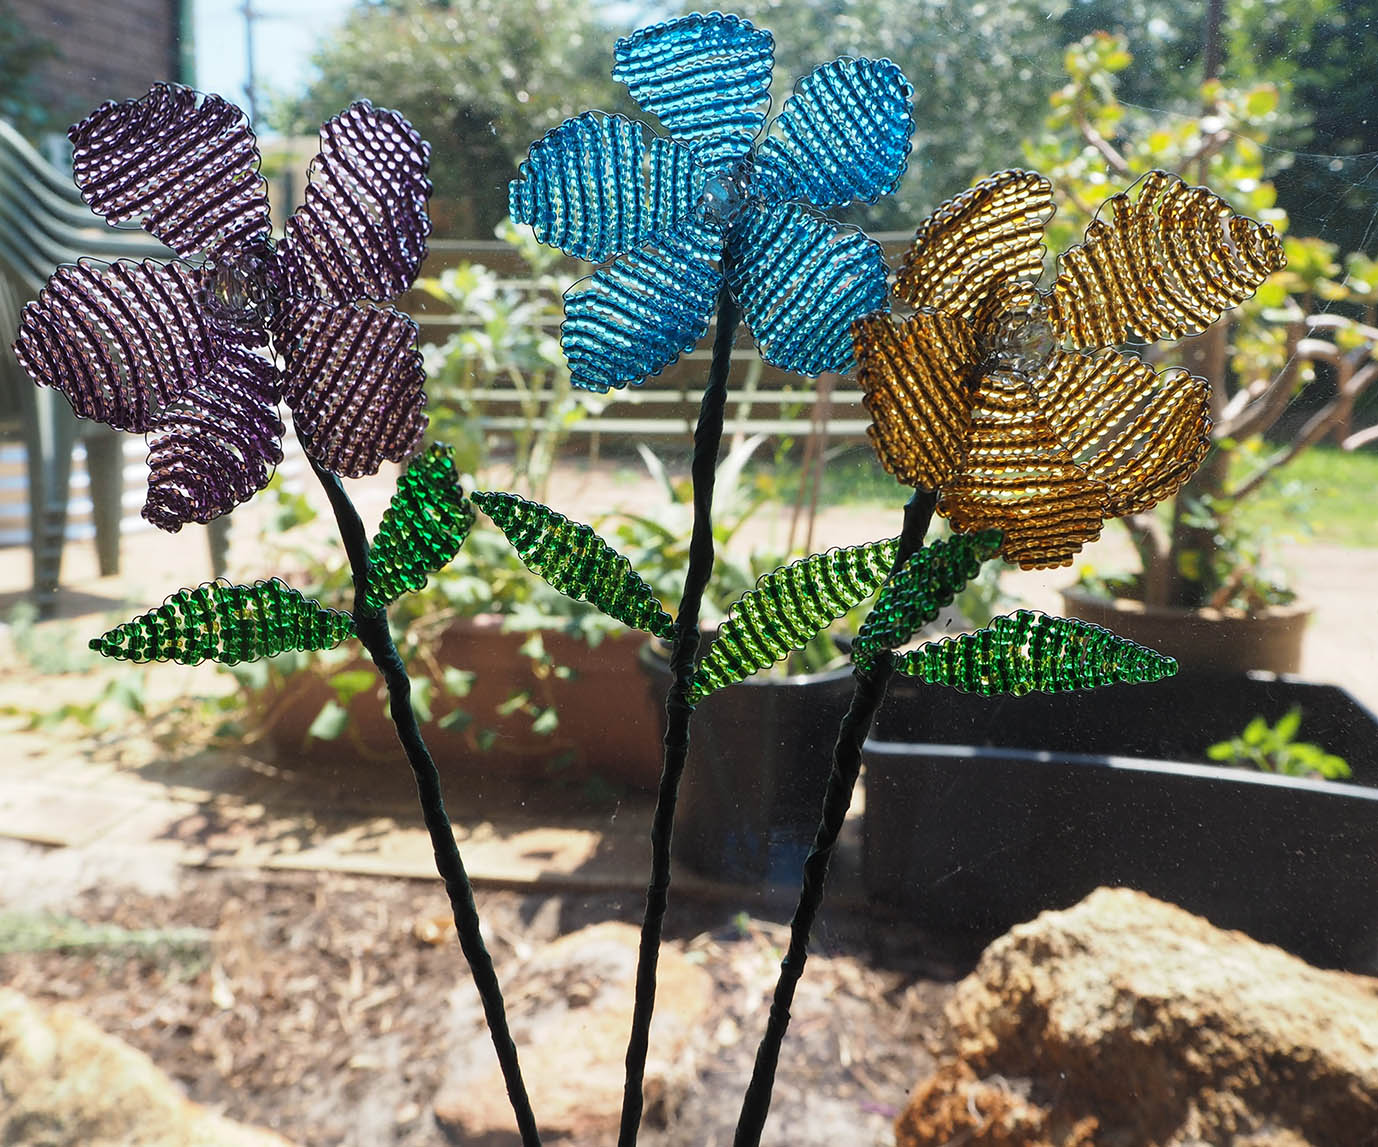
My project this week was a little bouquet of beaded flowers for my dear friend Chris, based on a pattern I found on cutoutandkeep 🙂
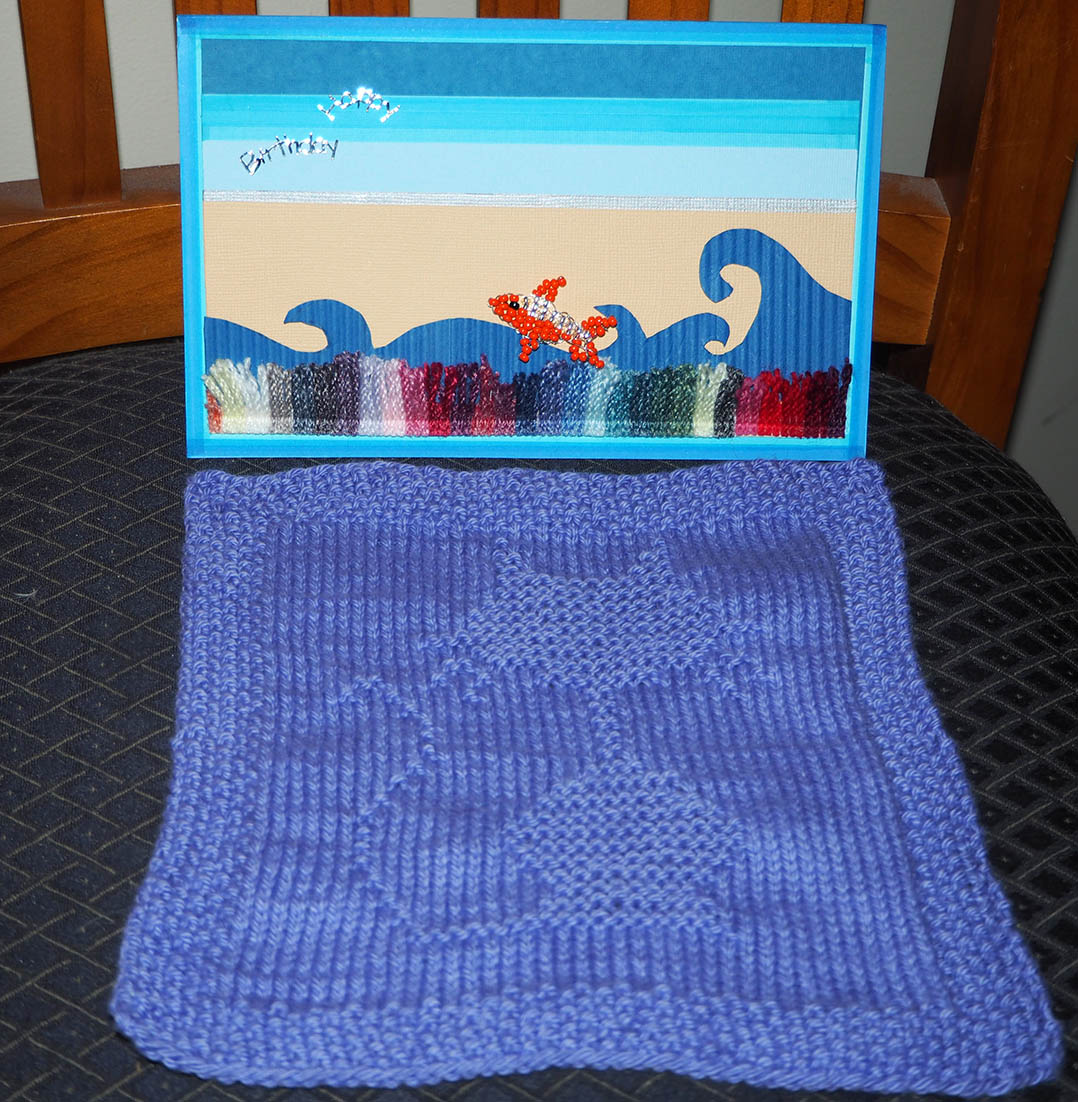
August 2015
I had fun making random crafty things for sister-sibling last week, including a beaded fish, a birthday card using same and a knitted face cloth (or flannel) to go with them. It was fun and kept me up until ridiculous o’clock at night all week, my best creative time being when the household is fast asleep!